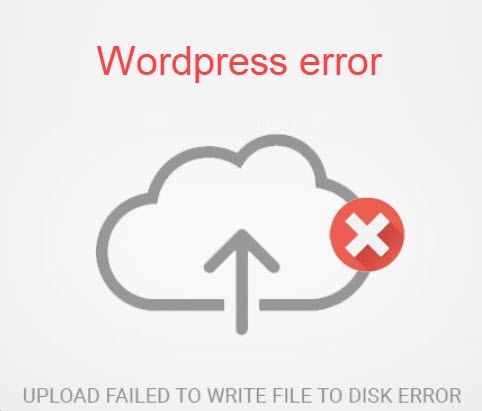
Have you ever received the message 'Upload: Failed to write the file to disk' when you attempted to upload files to WordPress? For beginners, this error can be very frustrating.
You will find how to fix Upload: Failed to Write File to Disk error in WordPress in this tutorial.
Failure to write a file to disk in WordPress? What is the cause?
A number of factors can cause this error. Most common, however, is that you are delegating the incorrect directory access.
Each file and directory on your website has a set of permissions, also known as permissions . Your server controls who has access to files based on these permissions.
Setting the incorrect permissions for a directory can take away the ability to write files to that directory. This means that your server cannot create or add new files to the directory it does not have write permissions to.
If you try to upload an image or any file from your WordPress dashboard, you will receive one of the following error messages:
- WordPress was unable to write to disk.
- Failed to write file to disk error caused WordPress to fail to upload.
- Unable to create directory wp-content/uploads/2020/03. Are parent directories writable by the server?
Solution to fix Upload Failed to Write to Disk in WordPress
First, we will connect to our WordPress site using an Filezilla application. FileZilla is a free FTP app we are using in this tutorial. If you are using another FTP client then the interface may not look like below illustration.
Once you are connected, you need to right-click on the wp-content folder and select File permissions .

FileZilla will bring up a dialog box that allows you to change permissions of files or folders. This includes file permissions for the owner, group and public group.
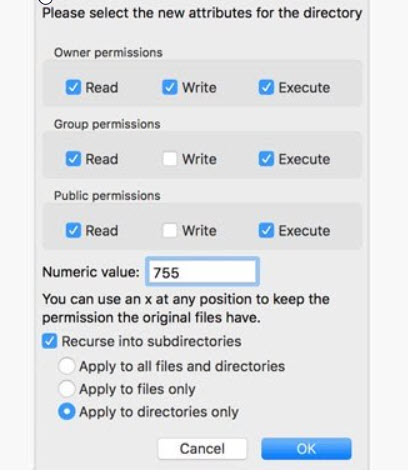
Set 755 in the Numeric Value field .
Then you need to check the box next to Recurse into subdirectories .
Finally, you need to click on the Apply to directories only option .
Click the OK button to continue.
Your FTP client will now set directory permissions to 755 and apply it to all subfolders inside wp-content. The uploads directory is the place where your images are stored.
Also, ensure that each wp-content file in your site is delegated correctly.
You may now change the permissions on files in the wp-content folder by right-clicking on the folder and selecting the preferences option again.
Enter 644 in the numeric value box, and then check the box next to Recurse into subdirectories . Next, you click the Apply to files only option box .
Lastly, press the OK button. Your FTP client will now change the file permissions for all files in the wp-content directory to 644.
Now you can go to your WordPress site and try to upload some files to see if the condition is fixed.
If you still see the error, you need to contact your WordPress hosting provider and ask them to delete the temp folder on the server.
WordPress uploads your images using PHP, the first process saves the uploaded files to a temporary (temp) directory on the server, then moves them to the uploads folder on WordPress.
If this temporary directory is full or not properly configured, then WordPress will not be able to write the file, thereby causing an error.
Temporary folders on your server are usually inaccessible through FTP. You need to contact the provider and ask them to remove the folder for you.
Hopefully, this article helped you resolve the 'Upload: Failed to Write File to Disk' error in WordPress.